
Recently I have become quite addicted to doing alcohol ink art. I will be doing a series of tutorials on various techniques incorporated when using alcohol inks.
Today I wanted to show how to make pendants using alcohol ink, dominoes, and resin. This will be a long blog. Grab your favorite beverage, art supplies (or bookmark for later) and follow along. I will be happy to answer any questions not gone over in this tutorial.
First, we will need to gather supplies.
1) alcohol ink of choice (Copic, Prisma, ProMarker, Spectrum Noir markers, Kaszazz markers, Pinata ink, Tim Holtz Adirondack ink)
2) Alcohol ink blending solution or rubbing alcohol 91% or higher strength. I use both.
3) Paint brushes if you choose to use them. Make sure they are not good expensive ones!
4) Any easy clear 2 part resin like envirotex lite, Crystal Resin from Pebeo etc.
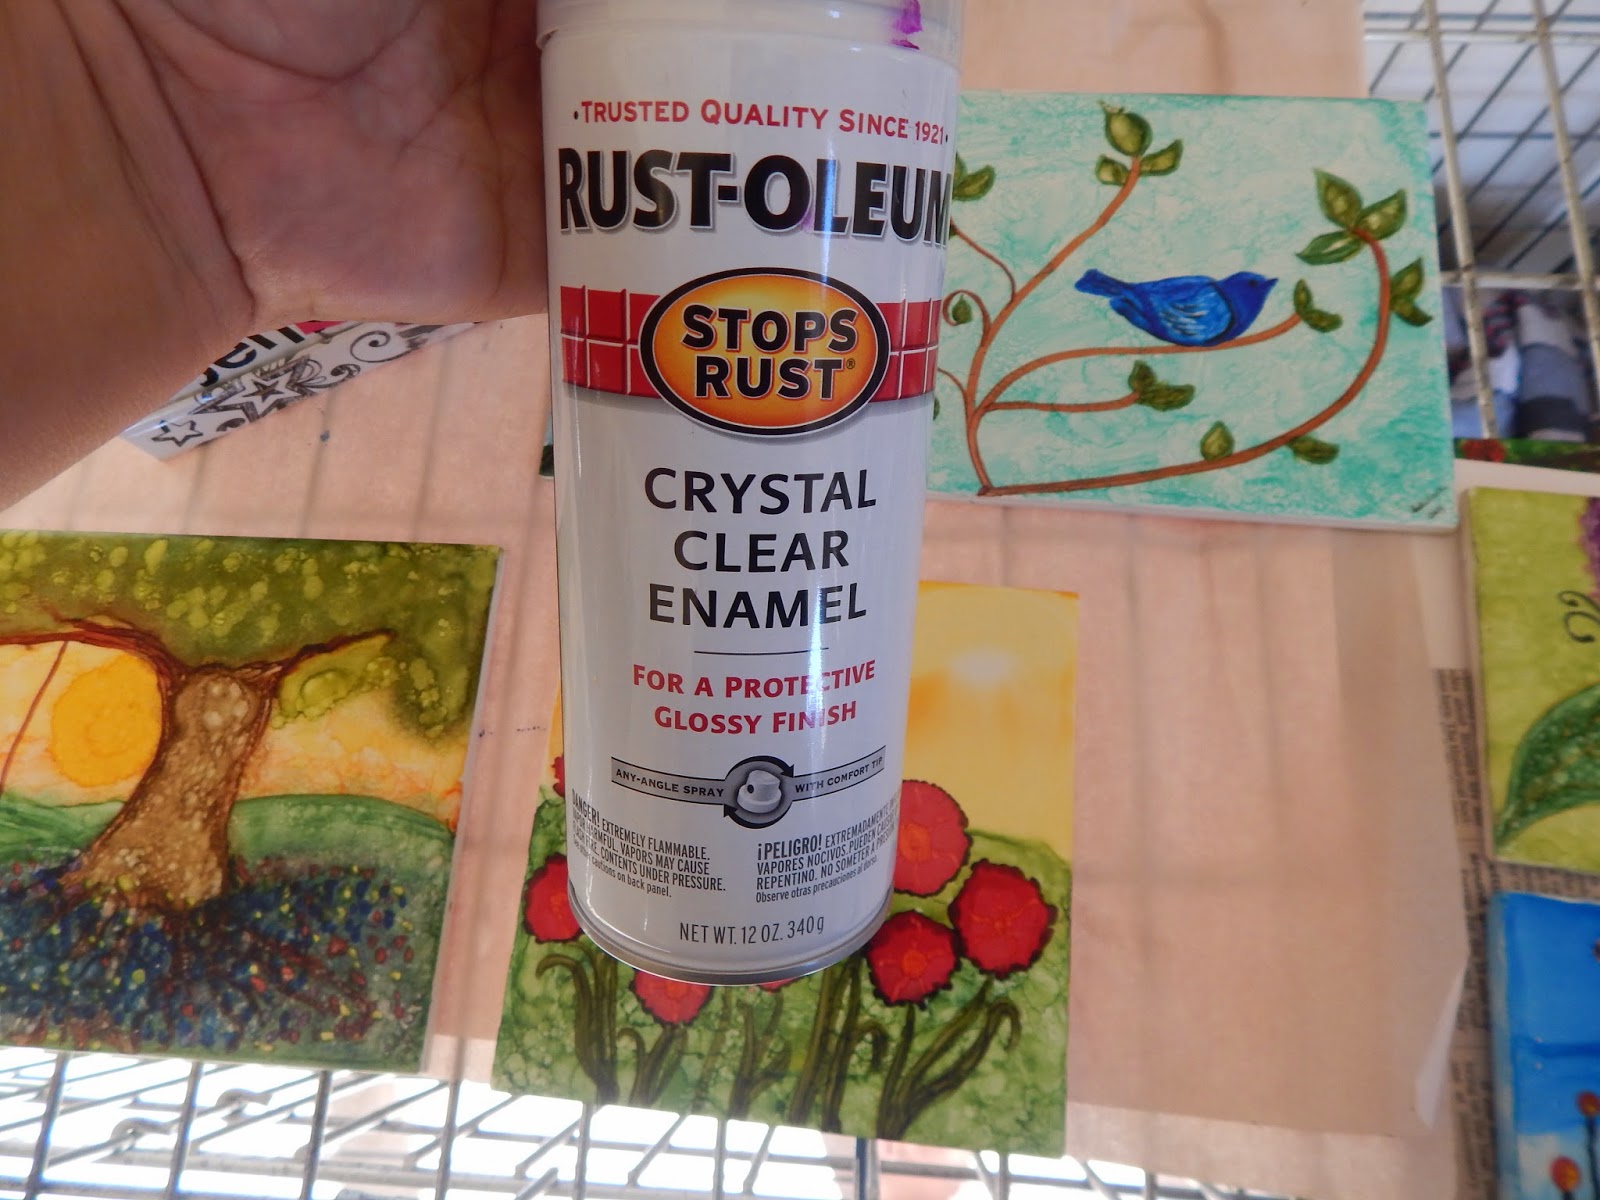
5) Spray Sealant. I use Rustoleum Clear Coat Enamel
6) metal jewelry bails to glue to the back of dominoes
7) dominoes (or any flat non-porous substrate in the shape of a pendant)
8) ribbon or cord necklaces
9) jump rings
10) Gloves
11) E6000 jewelry glue
12) Most IMPORTANT: A well ventilated area. You can get very sick from breathing in fumes from too much alcohol ink or spray sealant. Make sure the work area is well ventilated! Take a break if you feel dizzy or just not quite right.
**Optional supplies that I use... Silicon Baking mat, dimensional modge podge for sealing backs of tiles with signature of artist, glitter, Faber Castell Pitt Pen for signing signature on back, canned air.

To get started, I clean the domino first with an alcohol pad or just pour a little rubbing alcohol on a cotton ball. This removes any fingerprints, dust, or dirt from the surface of the domino. It will dry pretty fast so there is not wait time.
Next, draw, paint, drop ink in dots etc on the domino tile to make a unique piece of art work. Play with the inks. They do some really great patterns and come up with designs sometimes all on their own. This is where we would use more alcohol or blending solution to get various effects in the ink. A light touch is very important to get detailed effects. The inks spread very fast so if details are desired, get a very slight amount of ink on the tip of the brush and work quickly.

To get some really neat effects, drop the ink straight from the bottle onto the domino and blow it around with canned air. Do this is layers and the art will end up with a truly unique design no one else can duplicate exactly. This can also be done using a simple drinking straw.

One tip to note when using brushes is to put a drop of ink into a plastic cup. Let the ink dry. Dip the very tip of your brush into alcohol ink blending solution to reactivate the dried ink. For some reason this works very well when trying to get fine details. The key to fine details is to NOT saturate the brush with ink or blender. Markers can also be used for fine detail. Again a light hand is key here.

When I do my dominoes, I usually go around the sides with a copic marker to give them a finished look. Sometimes if I am doing a blowing technique, I will just let the ink run over the sides and let it be part of the design of the pendant.

Now here is where it gets a little tricky. From the voice of experience, make sure you seal your art before you attempt to resin. If the ink is not sealed prior, the resin will absorb the ink. If any color stays at all it is a muddy mess. It will feel like someone popped your favorite balloon. Yes this happened to me. Yep I felt like facepalming myself!
This is what happens when resin is poured over ink not sealed....(also when it gets stuck to the table).

Once the design is finished, take the domino pendants outside and spray 2-3 coats of a clear protective sealant. I use Rustoleum Clear Enamel. Sealants are constantly evolving for alcohol ink artists. Everyone has their favorite. I love this one. Some people love Kamar or Krylon. It really is up to you to experiment with the sealant of your choice. My recommendation would be to play with some different sealants. Paint some designs you don't mind losing on ceramic tiles and experiment with the sealants. Use the one that works out the best. After spraying the sealant, cover the dominoes with a box top or one of those mesh food cover umbrellas to keep dirt, pet hair or flies off of the work. I work a lot outside. Flies are the devil and can mess up a beautiful piece of work just by landing on it.
Follow the directions on the sealant for drying times between coats. Let sit over-night before applying resin.
Now, make sure the pendants are on a perfectly flat surface. If it is off by just a little bit, the resin will end up thicker on some parts of the pendant than others.
Ready to Resin

Mix the resin according to the directions that come in the box. It is very important to follow specific brand directions.
Here are the directions for the Crystal Resin Gedeo from Pebeo:
1) Make sure your work surface is leveled.
2) In a dry and clean recipient begin by pouring 1 dose of Crystal Hardener B followed by 2 doses of Crystal Resin A
3) Mix well the two components all the way to the corners of the recipient (incomplete mixing does not guarantee the hardening, mixing too strongly can create the appearance of bubbles). Transfer the mixture into a second recipient and mix again to ensure homogeneity of the resin and optimum hardening.
4) Pour onto the surface of your choice
5) Let dry 24 hours away from dust. Hardening is progressive and varies according to the room temperature.
*Newbie tips: do not mix vigorously. This will cause air bubbles and they are a you -know- what to get out. A torch is not needed with this resin. Mix slow to avoid air bubbles. If air bubbles happen, let sit about 5 minutes so they can rise to the top of container.
Resin will not be completely clear until it is mixed all the way. When properly mixed, the resin will resemble thick water. If it is still cloudy, slowly mix a little bit longer.
Put dominoes on top of a silicon baking mat if one is at hand. The dried resin will peel right off and you will not have to worry about losing a good piece of art if it sticks to the table. With bigger pieces, use tarps underneath or lift them up by placing plastic cups underneath. I actually stuck a coaster right to my working table top. My husband was able to remove it with a screwdriver and hammer but no one really wants to experience that.
Instead of "pouring" the resin, drip it right off of the mixing stick in small drops in the middle of the pendant. Work from the middle to the edges and smooth the resin to the corners.

Work slowly. Eyeball the domino at table level to see if the entire piece is covered. Work slowly to avoid spill over on the sides.

Resin is on.

Look close at the picture above. A few uneven spot show. While the resin is wet fix the uneven spots.
Once the pieces are covered with the resin, place a box top or other covering over the top to protect from the before mentioned dust particles or pet hair. Let it dry for 24 hours before removing the
covering. Obviously make sure the covering is not touching the pendants.

Now you are ready to make some beautiful necklaces! Get out the jewelry supplies here.

I like to choose bails with some type of ridge or depression in them. The ridge/depression goes against the pendant and helps to hold the glue better. Today I have chosen these cute little flower bails. Bails come in all shapes and sizes. You can even make your own if you are good at wire wrapping. (that will be a different tutorial)

Apply a small amount of E6000 glue to the ridge side of the bail. Be careful if opening a new tube of the glue. It will come out of there like gang busters and get everywhere if squeezed too hard.
Place bail flat against the back of pendant. E6000 dries fairly quickly and should be completely set in about a half an hour or sooner.
Once the bail is secure to the back of the pendant, attach pendant to a ribbon, cord, or chain necklace with a jumpring.
*optional, sign the pendant with name of artist and date on the back. I sign with Faber Castell Pitt Pens and seal with one thin coat of modge podge dimensional magic. How the backs of the pendants are finished is completely up to you. I have left them in their natural state and also covered with papers or pictures. This is your art. Do with it what you will.

Viola! Done. Now you are the proud owner of something gorgeous and one of a kind made by you!

These take some time to do properly but once experimenting is done and a groove is found, gorgeous wearable art is really easy to make.
To see more of my artwork or keep track of art show or new projects I am in, please follow me on Facebook here.
Thank you so much for taking the time to read my blog.
**A few questions that keep popping up...
Do you resin the sides?
No. I do not resin the sides. The sides are covered with the sealant spray. I only want the fronts glossy for the purposes of my pendants.
Where do you get the ribbon/cord necklaces/bails?
I order my supplies directly from the manufacturers. I put in big bulk orders for these items. However, if you cannot afford to do that, I can always order for you or you can find tons of great sellers on Etsy who sell these items.
One great shop for supplies is:
Supply in Style
https://www.etsy.com/shop/supplyinstyle?page=30
Where do you buy your ink?
I buy my Tim Holtz Adirondack ink directly from the manufacturer. If you would like me to order ink for you I can order any color they carry. My prices are $2.75 a bottle plus shipping and handling. I cannot ship the ink overseas so this is for US only.
I buy my markers from Ebay/Michaels/Dick Blicks/JoAnns and Hobby Lobby. Most often with coupons.
Domino tiles were bought from Walmart, The Dollar Tree and KMart.